In the fast-paced world of Indian business, where GST compliance is as essential as your morning chai, having the right digital tools can turn what feels like a mountain of paperwork into a smooth ride. If you’re a small shop owner in Bengaluru or a growing manufacturer in Ahmedabad, you’ve likely heard about the Digital Signature Certificate (DSC) for GST filings. It’s that secure electronic stamp that lets you sign and submit returns online without a hitch. At IndianDSC.com, we’ve seen countless businesses streamline their GST processes with a Class 3 DSC, and in this detailed guide, I’ll walk you through how to register and use DSC on the GST portal, step by step. Whether you’re filing GSTR-1 for sales or GSTR-3B for monthly summaries, this resource will help you get it right the first time. Let’s dive in with simple explanations, just like we’d chat about it at a local dhaba.
What is DSC and Its Role in GST Compliance?
To start from the basics, a Digital Signature Certificate (DSC) is like your personal electronic signature, backed by strong encryption to verify your identity and protect documents from tampering. In the context of GST (Goods and Services Tax), which is India’s unified tax system introduced in 2017, DSC is required for authenticating online submissions on the GST portal (gst.gov.in). Specifically, a Class 3 DSC – the highest security level – is mandatory for certain filings, especially if you’re a company, LLP, or trust, as it involves thorough identity checks to prevent fraud.
Why does GST need DSC? The GST Network (GSTN) handles millions of transactions monthly, and digital signing ensures accuracy, security, and legal validity under the IT Act, 2000. Without it, you might face rejections or delays in refunds, input tax credits, or registrations. For example, when filing returns like GSTR-9 (annual return) or applying for GST registration, DSC confirms it’s really you submitting the data. This is crucial in a country where GST collections have crossed record levels, reflecting the system’s importance for economic growth. If you’re new to this, think of DSC as your digital Aadhaar for taxes – it links your identity to your filings seamlessly.
At IndianDSC.com, our Class 3 DSCs are perfect for GST, starting at affordable prices with USB tokens for easy storage. They work not just for GST but also for MCA, Income Tax, and more, making them a versatile choice for businesses.
The Key Benefits of Using DSC for GST Filings
Before we get into the how-to, let’s explore why bothering with DSC is worth it for your GST routine. In my experience helping businesses optimize their compliance, these perks stand out and can even help your operations run smoother.
First, unmatched security: DSC uses Public Key Infrastructure (PKI) to encrypt data, so your financial details – like turnover figures or input credits – stay safe from hackers. In an age where cyber fraud is rising, this protection is like a sturdy lock on your shop’s shutter.
Second, faster processing: Signing digitally means instant submissions without printing or scanning. GST returns that once took days now get done in hours, helping you avoid late fees (up to ₹200 per day for GSTR-3B). For busy entrepreneurs, this time-saving is gold.
Third, legal compliance and validity: DSC-signed documents are as good as physical signatures in court, reducing disputes during audits. Plus, for certain entities like companies, it’s mandatory – skipping it could halt your business.
Fourth, cost reductions: Go paperless to cut expenses on stationery, couriers, and even travel to tax offices. Over time, this adds up, especially for SMEs filing multiple returns monthly.
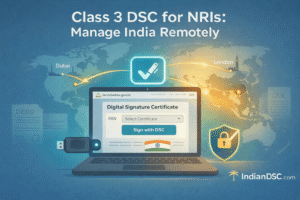
Fifth, convenience for all: Whether you’re in a remote village or abroad as an NRI, DSC lets you file from anywhere with internet. No more depending on agents or facing connectivity issues.
Sixth, error minimization: Digital signing flags mismatches early, like wrong PAN details, ensuring accurate filings and fewer notices from GST authorities.
From an optimization standpoint, businesses that use DSC often see better cash flow through quicker refunds (e.g., under IGST for exports). If you’re searching for ways to make GST easier, integrating DSC is a top tip.
Documents and Requirements to Register DSC on GST Portal
Getting started requires some prep work, but it’s straightforward. The GST portal demands verification to link your DSC to your GSTIN (GST Identification Number). Here’s what you’ll need:
- Class 3 DSC: Issued by a licensed CA like eMudhra or Capricorn. Get yours from IndianDSC.com – we offer signing, encryption, or combo types with 1-3 year validity.
- USB Token: To store the DSC securely (e.g., ePass or ProxKey). It’s mandatory for registration.
- emSigner Utility: A free software from GSTN to enable signing. Download it during the process.
- System Setup: Windows/Mac computer with Java installed (version 8 or later), updated browser (Chrome/Firefox), and admin rights.
- GSTIN and Login Credentials: Your 15-digit GST number and portal username/password.
For the DSC application itself (if you don’t have one), upload PAN, Aadhaar/Passport, address proof, and photo during our checkout at IndianDSC.com. For organizations, add GST certificate or authorization letter. Our paperless eKYC uses OTP and video verification, making it quick – no physical visits needed.
Ensure your DSC details (name, PAN) match your GST registration to avoid mismatches. If you’re an NRI, attested docs work fine.
Step-by-Step Guide to Register DSC on GST Portal
Registering your DSC is the first hurdle, but follow these steps, and you’ll be done in minutes. This is based on the latest portal process as of 2025.
Step 1: Log In to the GST Portal
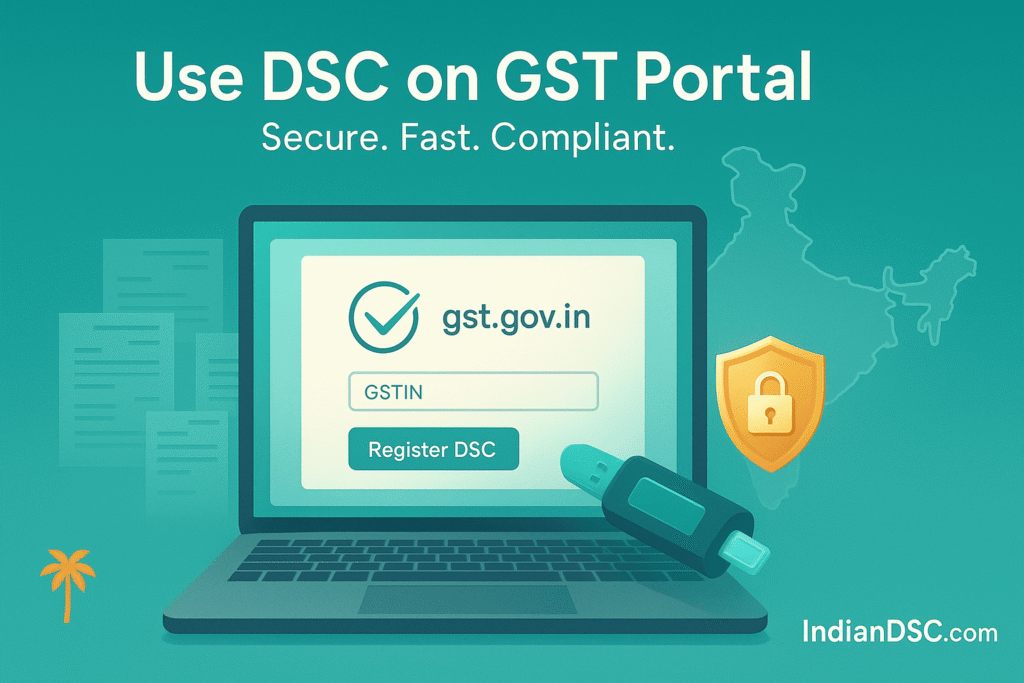
Visit gst.gov.in and click “Login” on the top right. Enter your GSTIN/username, password, and captcha. If you’re new, register first under “New Registration” – but that’s a separate process requiring Aadhaar OTP or DSC.
Step 2: Navigate to DSC Registration
Once logged in, go to “Services” > “User Services” > “Register/Update DSC.” Or, from your dashboard, find “My Profile” and click “Register DSC” under Quick Links. This opens the DSC registration page.
Step 3: Install emSigner if Needed
The portal prompts you to download emSigner (a GST-specific tool for signing). Click the link, install it (run as admin), and restart your browser. EmSigner bridges your DSC token to the portal – without it, signing won’t work.
Step 4: Insert USB Token and Select DSC
Plug in your USB token. Click “Proceed” on the portal. A pop-up lists available DSCs – select yours (it shows the certificate name and expiry). Enter your PIN (set during DSC issuance) to authorize.
Step 5: Verify and Submit
The portal verifies the DSC against your GSTIN details. If it matches, you’ll see a success message. Your DSC is now registered! Note: Only one DSC per GSTIN, but you can update it later.
This registration is valid until DSC expiry. For multiple users (e.g., in a company), authorize signatories via “Manage Additional Authorization.”
Step-by-Step Guide to Use DSC for GST Filings
With registration done, using DSC for filings is easy. Let’s cover key returns.
Using DSC for GSTR-1 (Outward Supplies)
- Log in, go to “Services” > “Returns” > “GSTR-1.”
- Fill invoice details, B2B/B2C supplies, HSN codes.
- Preview, then click “Generate Summary.”
- Select “File with DSC,” plug token, choose certificate, enter PIN, and submit.
Using DSC for GSTR-3B (Monthly Return)
- Under “Returns” > “GSTR-3B,” input sales, purchases, tax liabilities.
- Offset liabilities with credits, preview.
- File with DSC – same token and PIN process.
For GST Registration or Amendments
- During new registration (Part B of FORM GST REG-01), sign with DSC.
- For amendments (FORM GST REG-14), upload changes and DSC-sign.
DSC is required for forms like GSTR-9/9C (annual) or refund applications (RFD-01). Always save acknowledgments.
Common Troubleshooting for DSC on GST Portal
Issues can pop up, but here’s how to fix them:
- emSigner Not Working: Reinstall or check Java. Run as admin.
- DSC Not Detected: Ensure token drivers are installed from Driver Download page. Restart PC.
- PIN Invalid: Reset PIN via CA software or reapply.
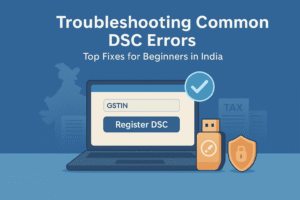
- Mismatch Errors: Update GST profile if name/PAN doesn’t match DSC.
- Browser Issues: Use Chrome; clear cache or disable extensions.
- Portal Glitches: Try incognito mode or wait for maintenance.
If stuck, our team at IndianDSC.com offers guidance – email [email protected] or call 7994725511.
Advanced Tips for Efficient GST Filings with DSC
To level up:
- Automate with Software: Integrate DSC with GST tools like ClearTax for bulk filings.
- Multi-User Setup: Authorize staff via GST portal for team access.
- NRI Tips: Use VPN if abroad; video eKYC for DSC works globally.
- Backup PIN: Store securely; lost token means new DSC.
- Stay Compliant: File on time to avoid penalties; use DSC for appeals too.
Frequently Asked Questions About DSC on GST Portal
Q: Is DSC mandatory for all GST filings? A: No, individuals can use EVC (OTP), but companies/LLPs need DSC.
Q: How to renew DSC for GST? A: Apply fresh; registration stays if details match.
Q: Can I use DGFT DSC for GST? A: If Class 3 and compatible, yes – check with us.
Q: What if emSigner crashes? A: Reinstall or contact GST helpdesk.
Final Thoughts: Simplify Your GST with DSC Today
That’s your full guide to registering and using DSC on the GST portal – a tool that keeps your business compliant and efficient. At IndianDSC.com, we’re here to make it easy with quick DSCs and support. Check our Shop Page to get started, or learn more on About Us. Questions? Visit Contact Us or call 7994725511. Stay compliant, grow your business!